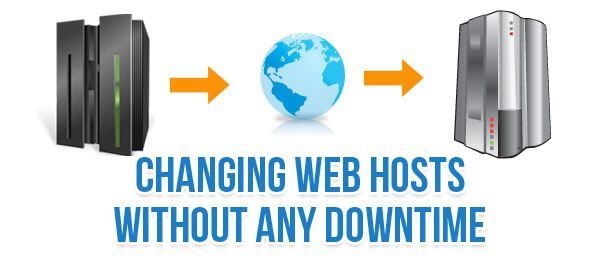
Due to the ever-increasing rise in the number of best web hosting companies India, many of the website owners prefer transferring their website from one host to another because of better services offered by the latter. However, there are many others who consider such transfers daunting and overwhelming to accomplish, mainly because of the downtime concerns which can cost the website thousands of dollars.
However, there are means through which one can shift from one web host to another without having any downtime to the website. Also, with the BigRock Hosting Coupons, this shift can cost lesser than usual. But before going into the details of this, it is important to mention that any current web hosting account should not be stopped until all the other aspects are taken care of. It should be terminated only when the website becomes fully functional with the new web host provider. Now, here are some of the ways in which the downtime can be avoided.
For more information click here#1. Getting a New Host Provider
The first step is to select a new, more efficient Hosting Provider, like BigRock. Thereafter, selecting, registering and choosing the appropriate web hosting package are the next three logical steps.
There are various hosting packages available that you can choose from; Shared hosting, VPS hosting, WordPress hosting in India, Cloud hosting, among others. Most web hosting providers also offer other add-ons and web-related services such as domain name registration, SiteLock, CodeGuard, and SSL that you can pick from.
Next thing to do is to create a backup of all of the files from the website from the older account.
#2. Backing Up Old Files from Old Host Provider
Next thing to do is to create a backup of all of the files from the website from the older account. This may take some time, based on how big a website is. It is also very important to create backup at every step of the process.
#3. Moving Backed-up Files to New Host Provider
After all the backups from the older account are made, they can be uploaded to the new web host provider account.
#4. Creating New Mailing Account
Next step is to create email accounts for the new host provider. In order not to lose any email from the old provider, one should create the same accounts in the email in sync with the previous web hosting provider. This way, the old email addresses on the previous account will match the new ones in the current account.
#5. Checking the Functionality of the Website
After the initial requirements are met, next step is to check if the website is fully functional under the new web host provider. This includes checking if all the links are working and if the content is available and visible. This can be achieved by creating a temporary URL for the website. To learn more about how to create a temporary URL, all one needs to do is simply ask the web hosting provider.
#6. Changing the Domain Name Server
If everything is working properly up to this step, the domain name server can now be changed. To do this, you may contact the web hosting provider for the proper domain name server settings or follow Our Bigrock DNS Changing Guide. Once the changes have been made, it takes about 1 to 2 days for the domain to circulate around the internet and go up and running. While it is still circulating, the website would still active through the old web host.
#7. Terminating the Old Account
Two days after the website has become fully functional through the new web host provider, the services of the old web hosting provider can now be terminated.
By following all these steps precisely, one can successfully move their website from one web host provider to another web host provider, while maintaining uptime.
Leave a Reply